The App Development market is growing rapidly, with over 3.55 million apps on the Google Play Store and thousands added daily. This competition pushes businesses to adopt mobile solutions. After building an app, many leaders work with top developers to meet their needs. The next step is uploading and publishing the app to the Play Store, which can be tricky. Here’s a simple guide to help with the app upload process. Ready to begin? Let’s go!
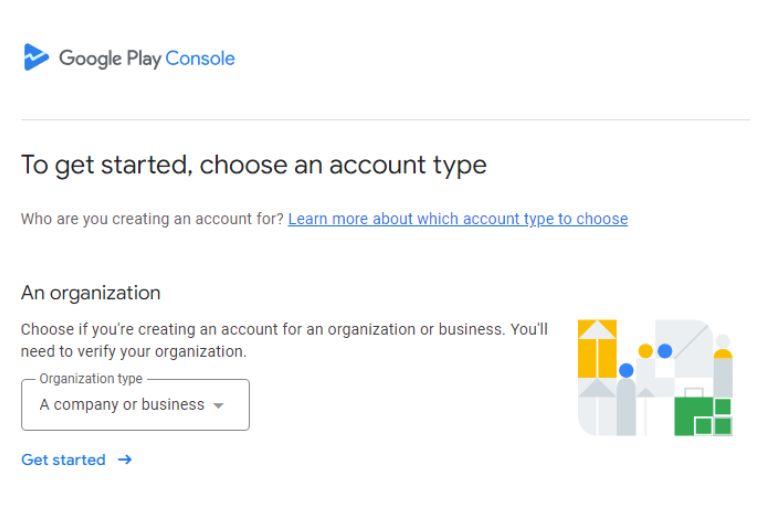
A Google Play Store Business Account is for Businesses to publish and manage apps widely. A Private Account is for individuals, allowing limited app Distribution and Basic Features.
-
-
- Create Your Google Developer Account: Login by signing up for a developer account on the Google Play Console. A one-time registration fee of $25 is required to set up your account.
- Add a Merchant Account: If you plan to sell your app or offer in-app purchases, you’ll need to set up a Google Payments Merchant Account. This will allow you to process payments through Google Play.
- Review Google Play Store Policies and Guidelines: Familiarize yourself with the Google Play Store policies and guidelines to ensure compliance. Understanding these rules will help you avoid potential issues during the app submission process.
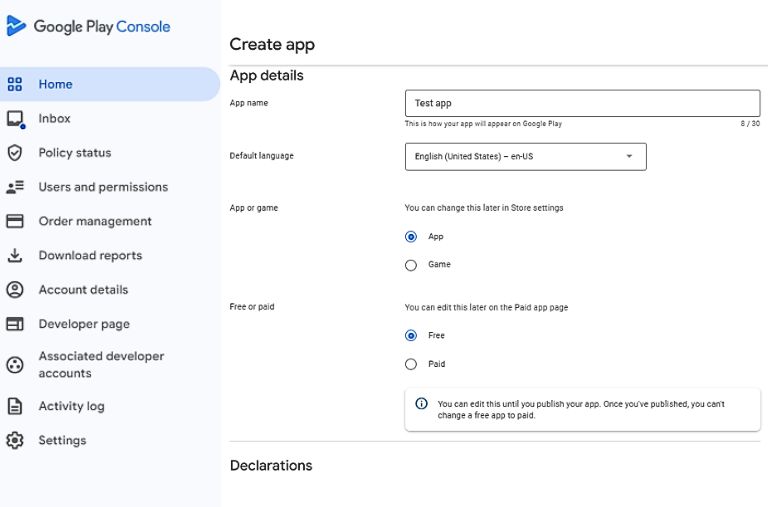
- Create Your App Listing: In the Play Console, Create a New App with the below Details.
- App Name: Engaging name (30 characters max).
- Long Description: Detailed info (up to 4,000 characters).
- App Icon: Upload (512×512 px, PNG/JPEG, max 1 MB).
- Feature Graphic: Add (1,024×500 px, max 1 MB).
- Screenshots: Phone: 320 to 3,840 px, 16:9 (max 8 MB).
Tablet (Optional): Same size/ratio. - Contact Info: Email: Provide a contact email.
Phone (Optional): Include if desired.
Address (Optional): Add if relevant. - Supported Countries: List available countries.
- YouTube Link (Optional): Add a promotional video link.
- Privacy Policy Link: Provide your policy link.
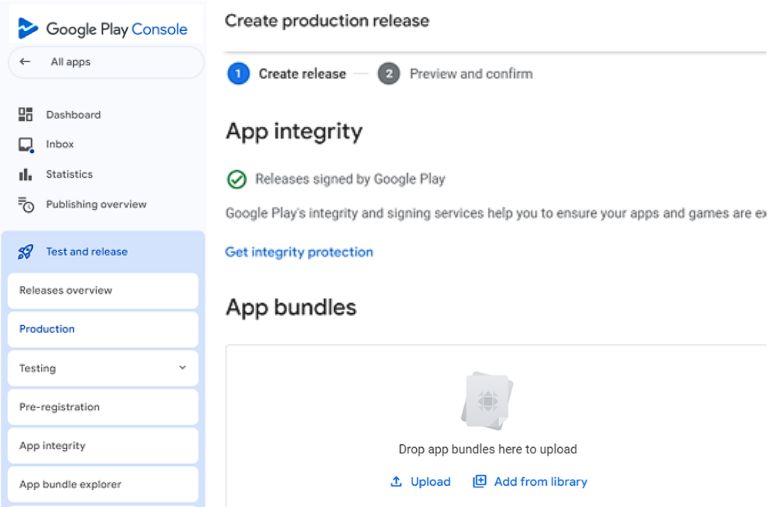
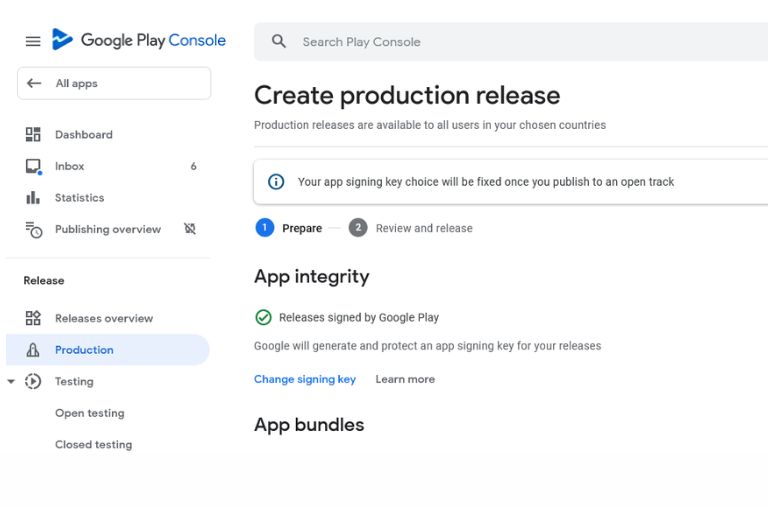
- Upload Your APK/AAB File: Generate the APK (Android Package) or AAB (Android App Bundle) file from your development environment. Then, upload this file in the Play Console under “Release Management” > “App Releases.
- Set Up Pricing and Distribution: Decide whether your app will be free or paid, and select the countries where your app will be available to users.
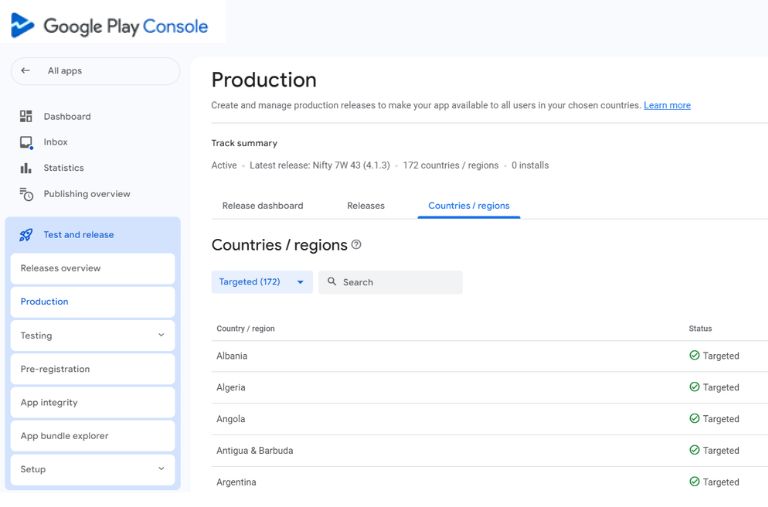
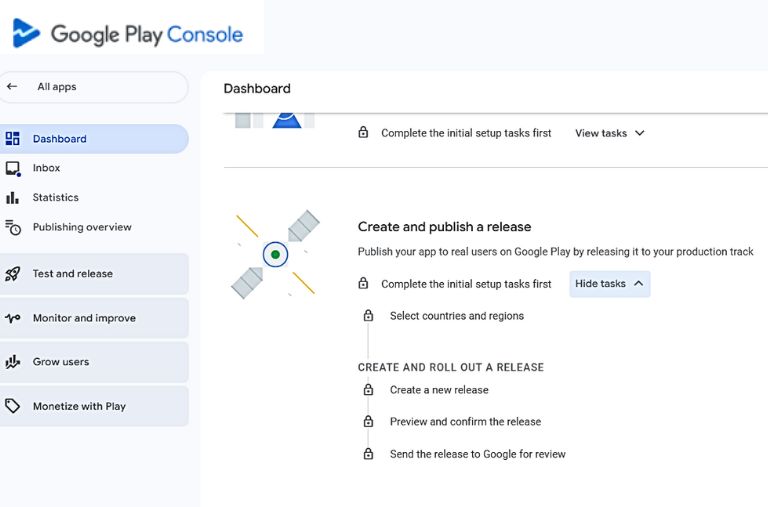
- Publish Your App: Review all your app details and assets for accuracy. Once satisfied, click “Review” and then “Rollout to Production” to publish your app.
- Post-Launch: After publishing, monitor your app’s performance using the Google Play Console. Pay attention to downloads, user reviews, and other performance metrics. Engage with your users by responding to feedback and consider regular updates to improve your app based on user suggestions.
- Create Your Google Developer Account: Login by signing up for a developer account on the Google Play Console. A one-time registration fee of $25 is required to set up your account.
-
If you need help with Mobile App Development , Contact Us for a free quote.


